Guide
Getting started
Updated Sep 25, 2026 · 6 min read

WriterDean turns a short brief into a published piece through one fixed pipeline. This guide walks the first hour: the account and the brand document, then the first run and the editor, and finally the review and the publish step. Nothing here needs a card.
Create the account and the workspace
Sign up at /signup with an email address and a password, a one time code sent to that address, or a Google or GitHub account. The first sign in creates a workspace named after you, on the free plan, with you as its owner. A workspace holds the brands, the members, the billing and the API keys, and agencies keep one client per brand inside it. You can create more workspaces later from the switcher at the top of the sidebar.
Build the brand document
Every run starts by reading the brand document, twelve sections that describe the product and the audience, as well as the voice and the proof points. The onboarding wizard asks for the brand name and the website, then offers two ways to fill the document.
- 1
Read my site
WriterDean pulls the homepage, the about, pricing, blog and features pages, then drafts all twelve sections. This usually takes under a minute. You then go through what it found, one section at a time, and correct anything it got wrong.
- 2
Walk me through it
For a brand with no site yet, the wizard asks the questions one section at a time. A sentence or two per section is enough to start, and you can edit the document at any time from Brands.
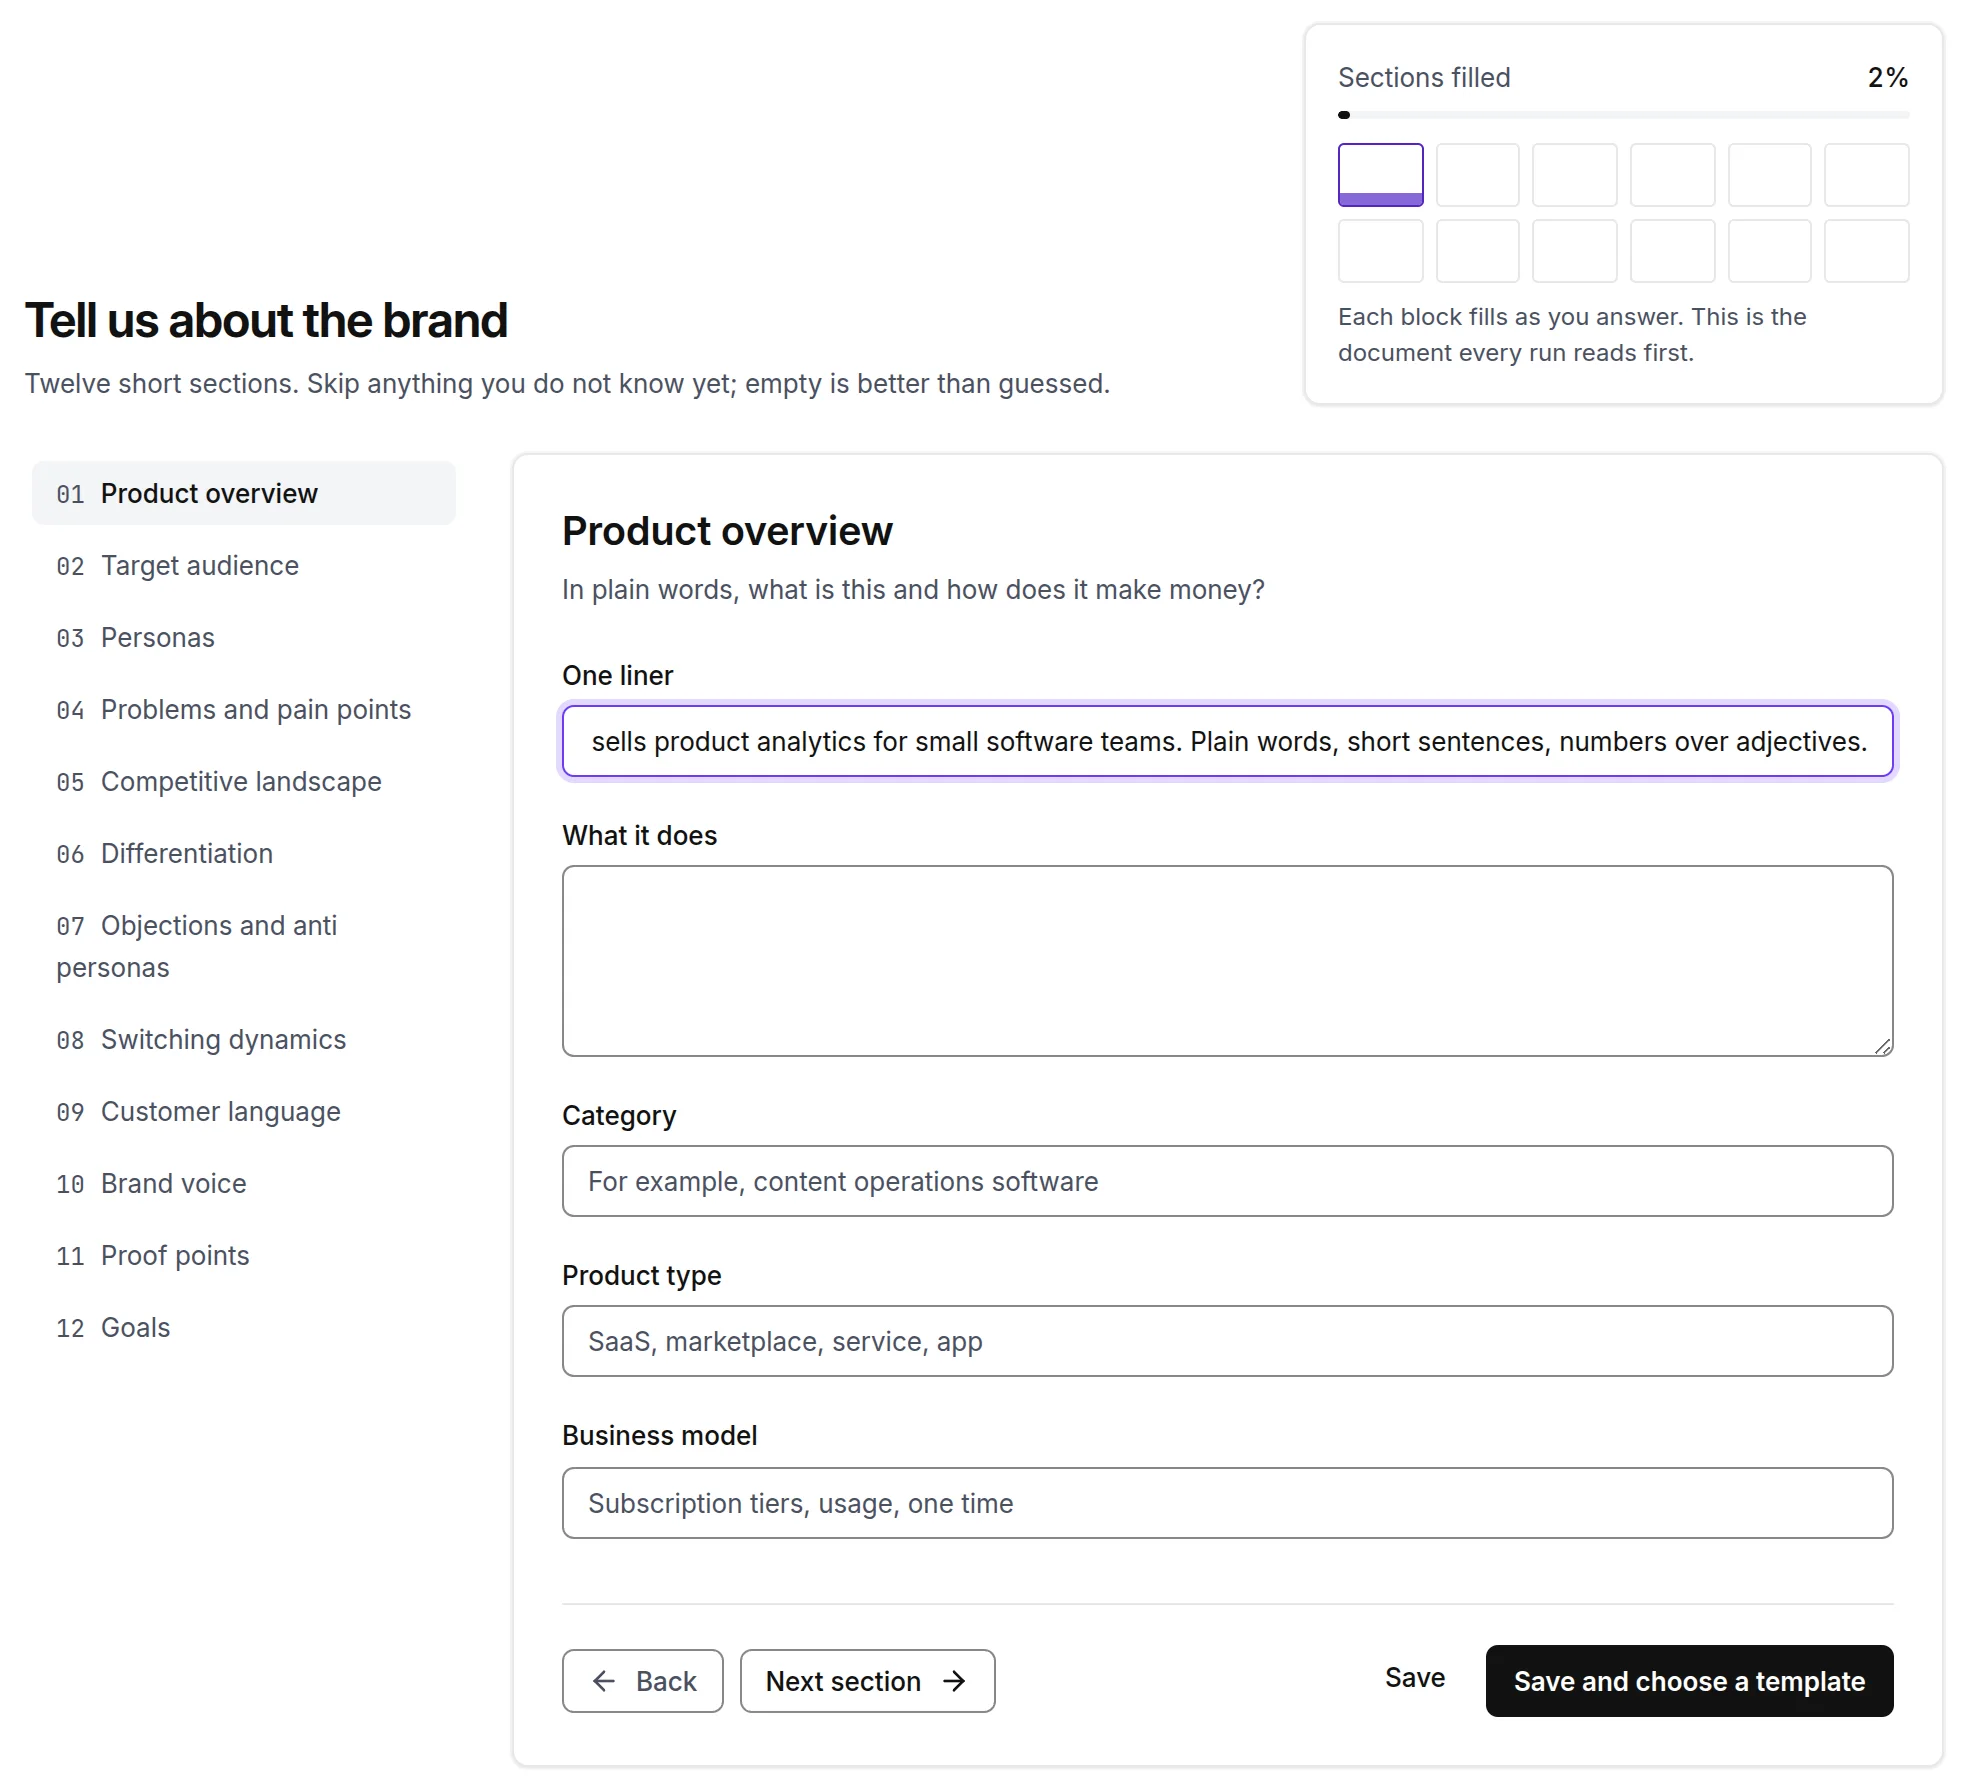
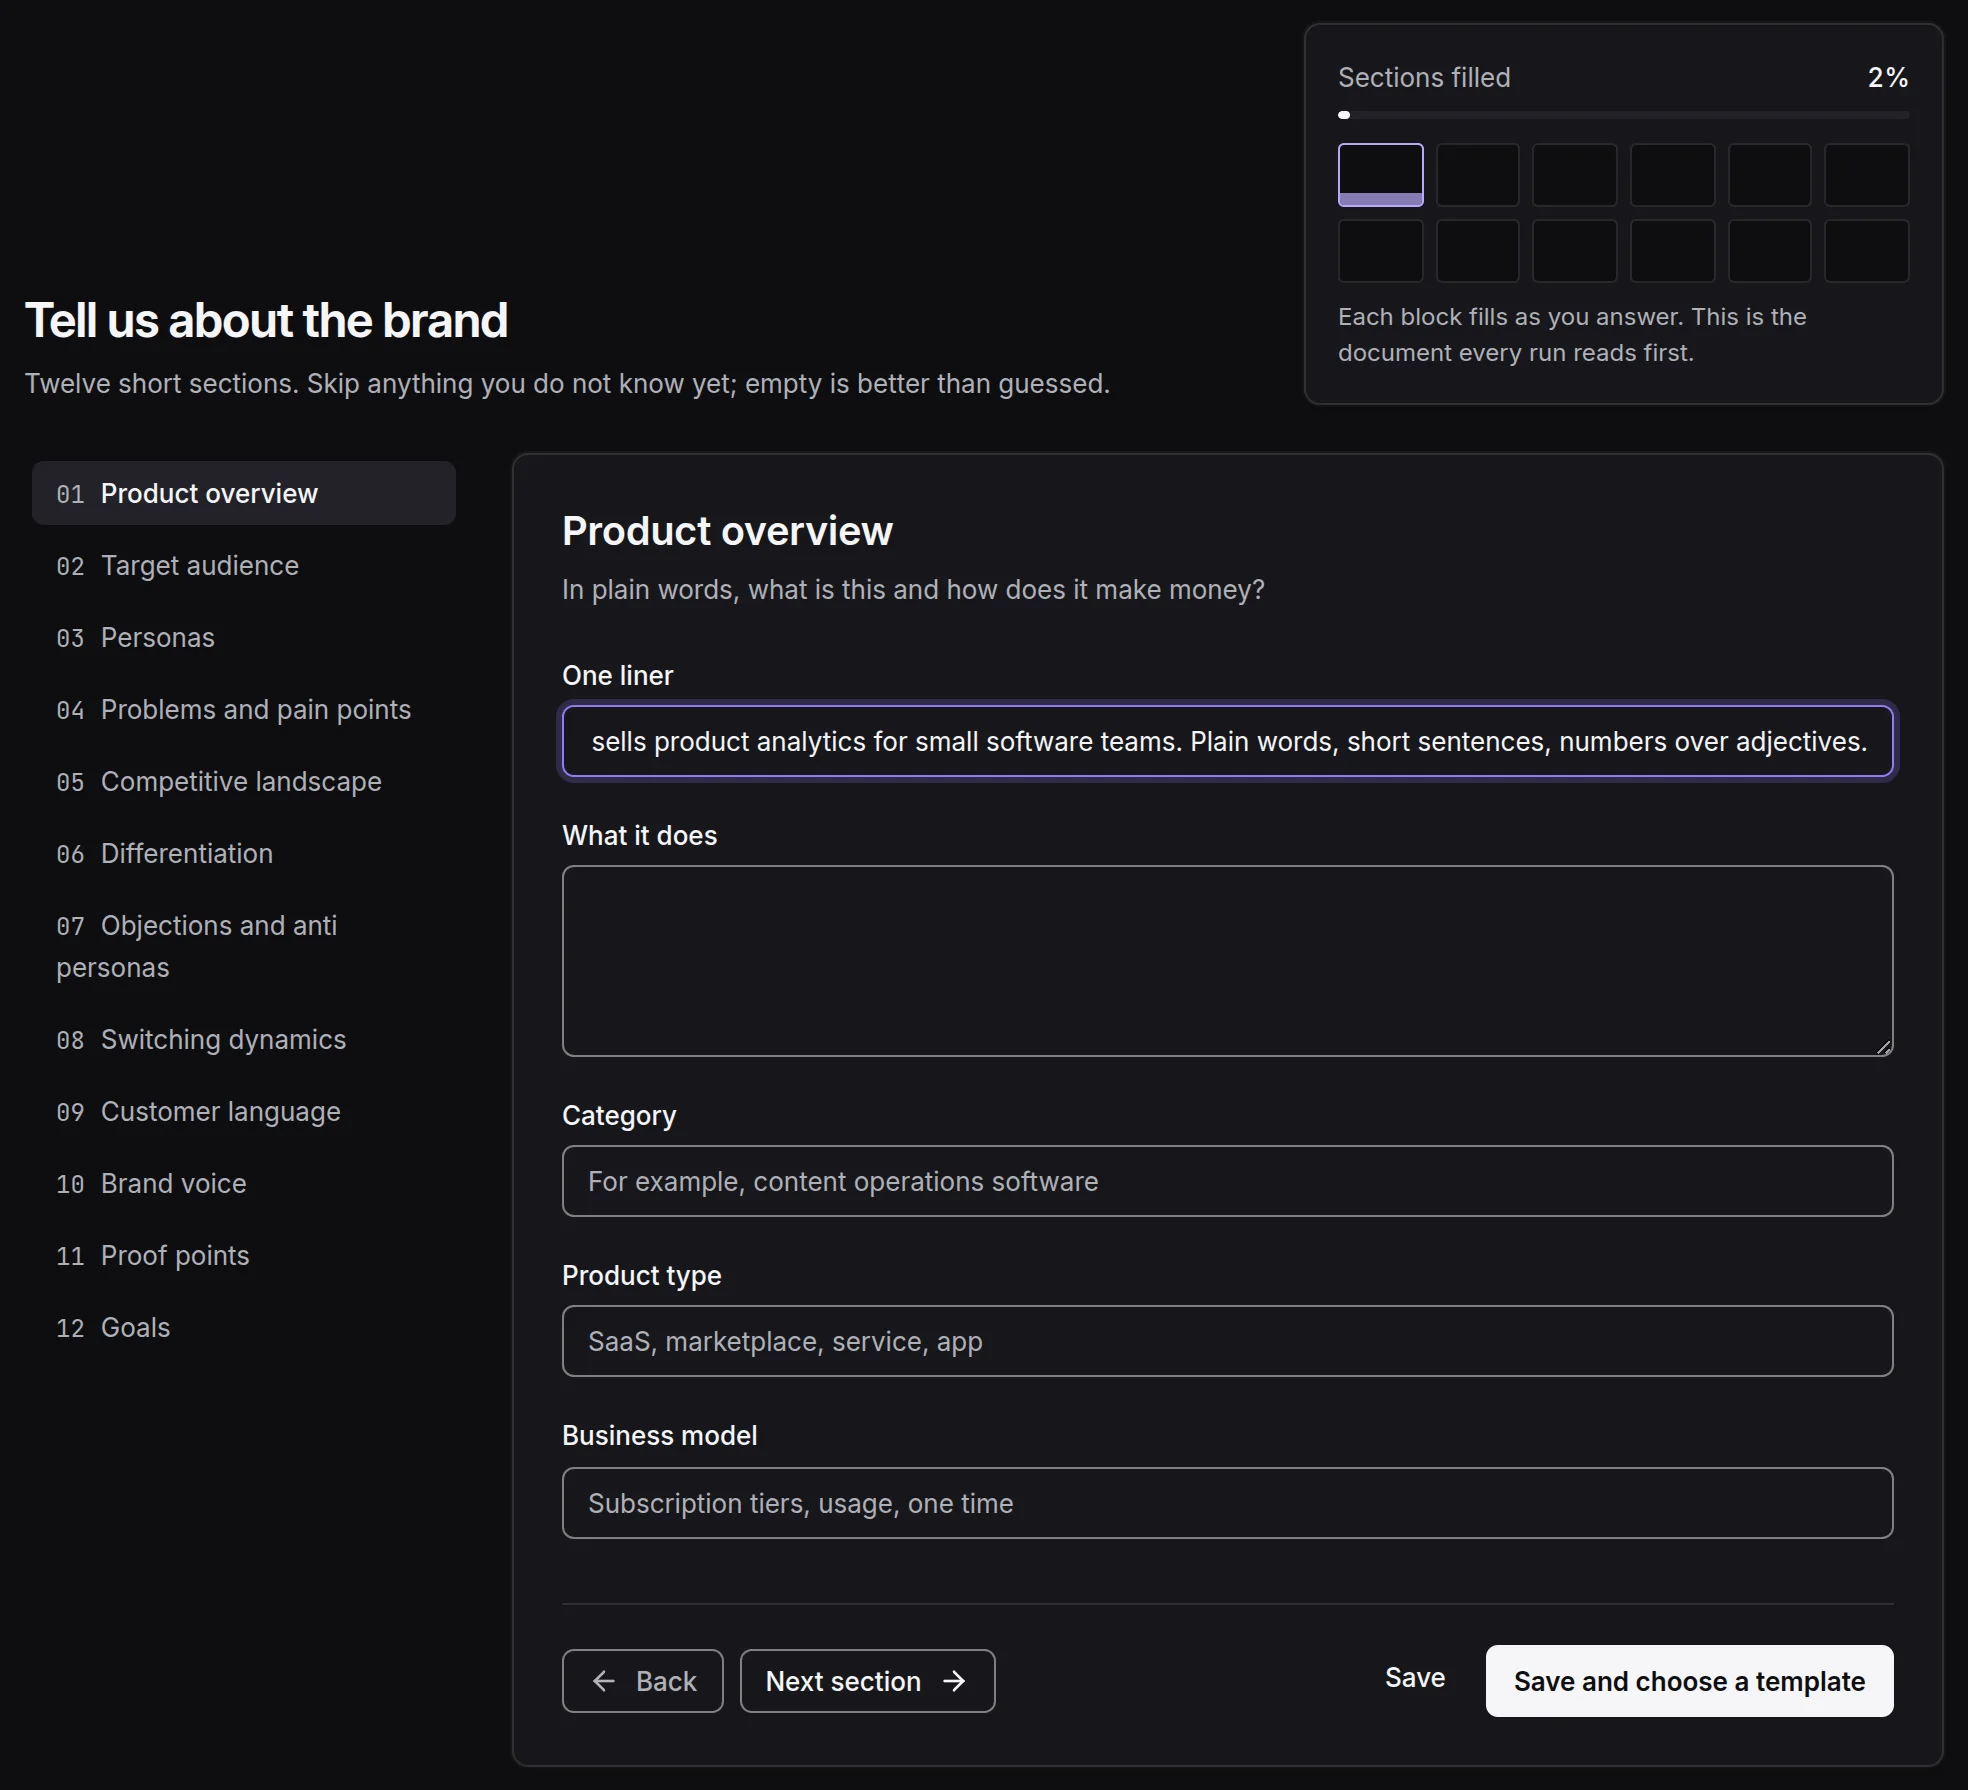
- 1The section you are answering
- 2The twelve blocks, filled or empty
Run the first piece
The last onboarding step asks what the first piece should be. Pick a template and write the brief, then choose Generate. A blog post asks for a primary keyword and takes notes for the writer; the other fields have sensible defaults from the brand document. The run page opens as soon as the run enters the queue.
A run walks its stages in order, and each stage lists the skills it loaded and what it cost while it runs. Blog posts pause after the outline so a person can read the headings before the draft stage runs. You can edit the outline in place before you choose Approve and continue. A short piece such as a social post has no pause.
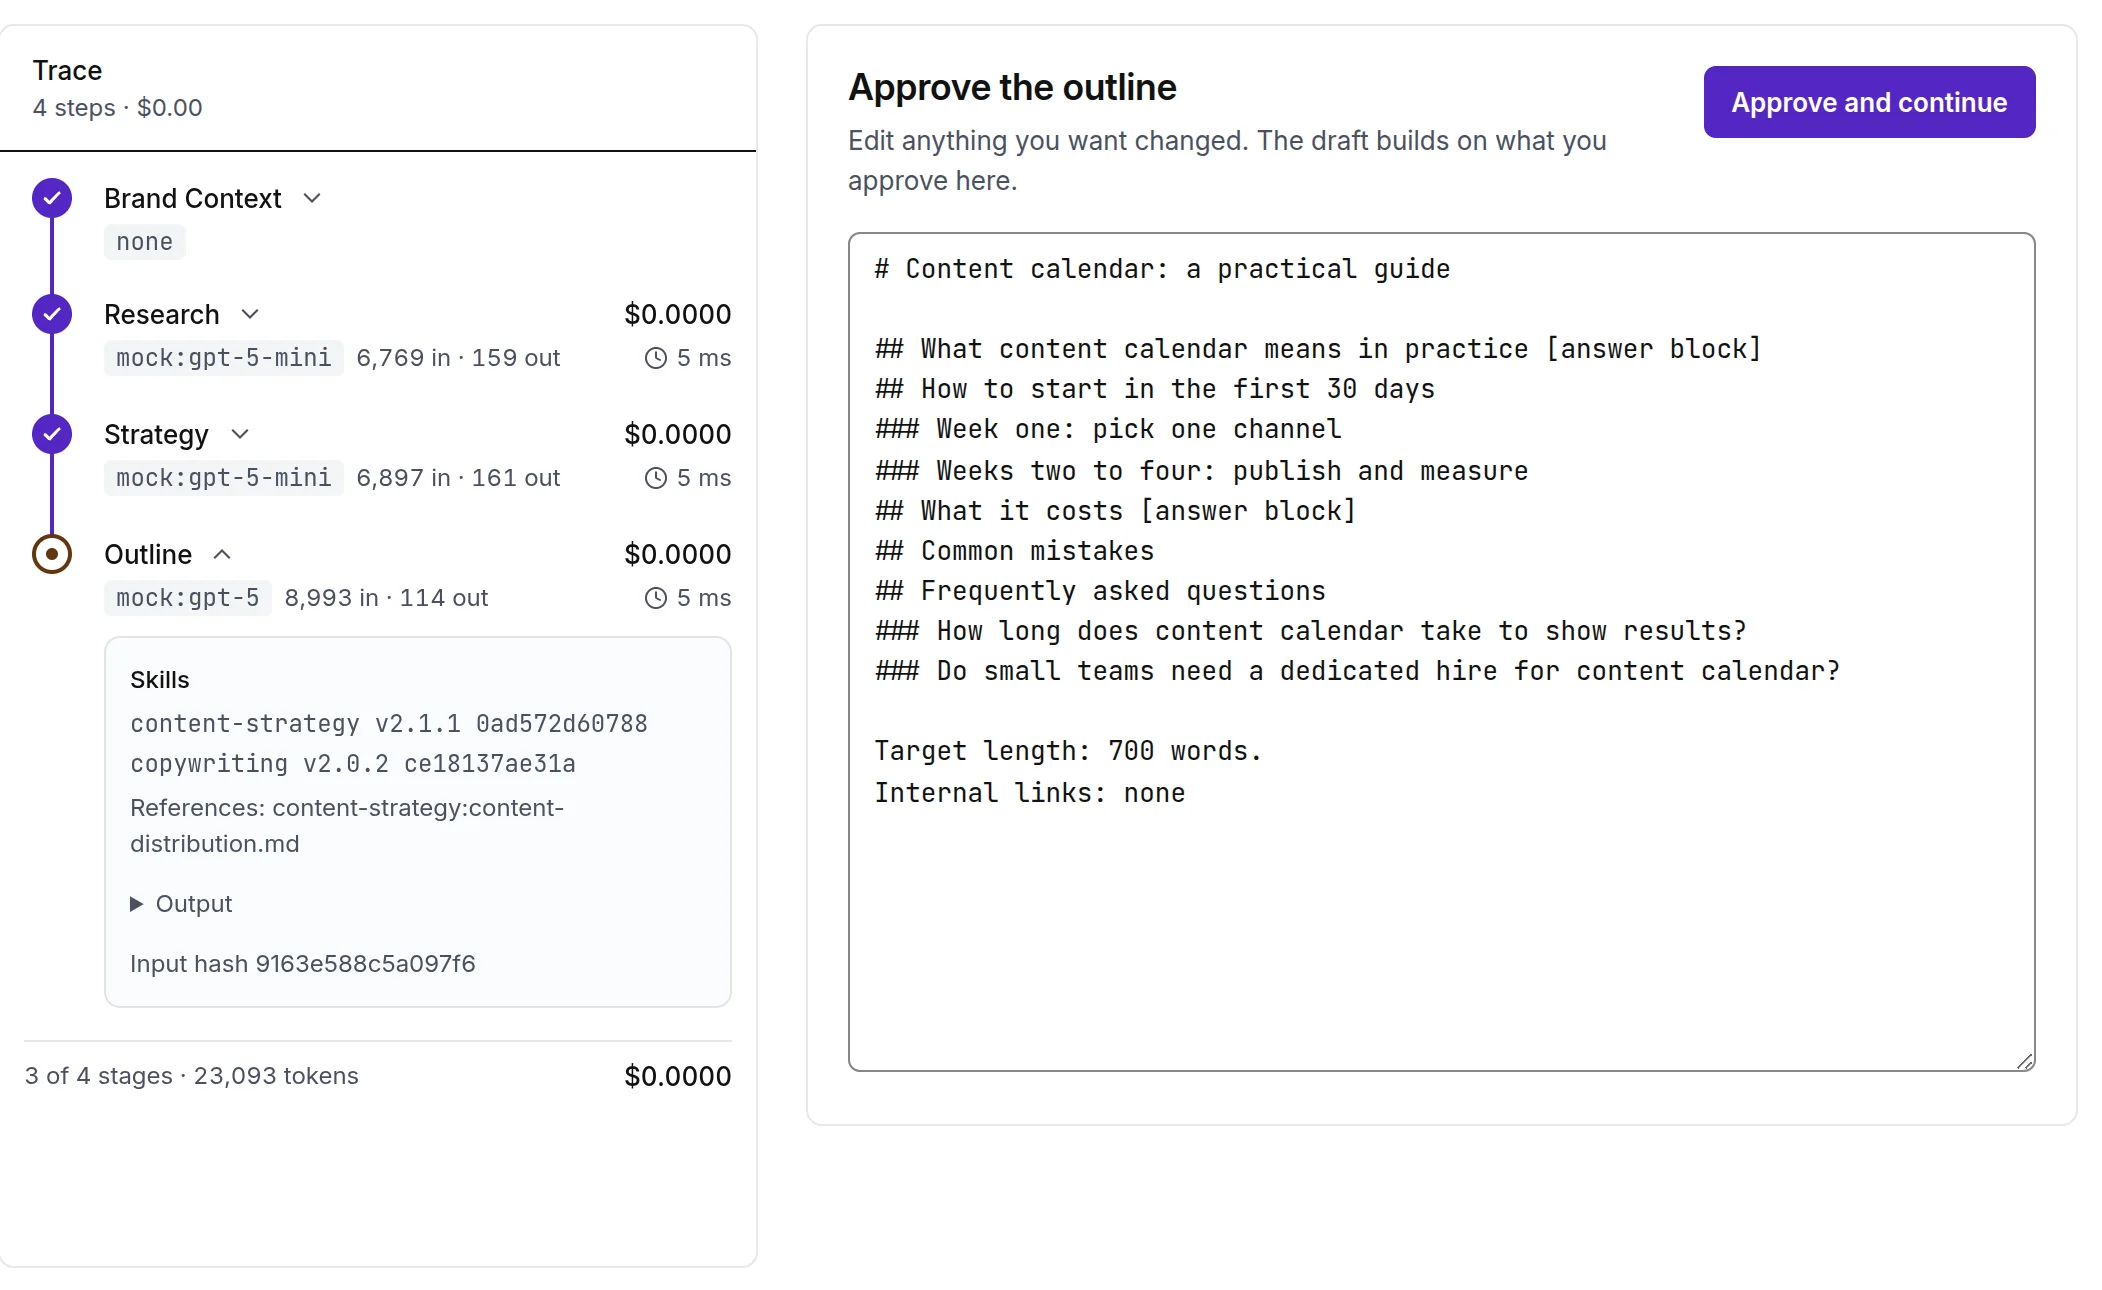
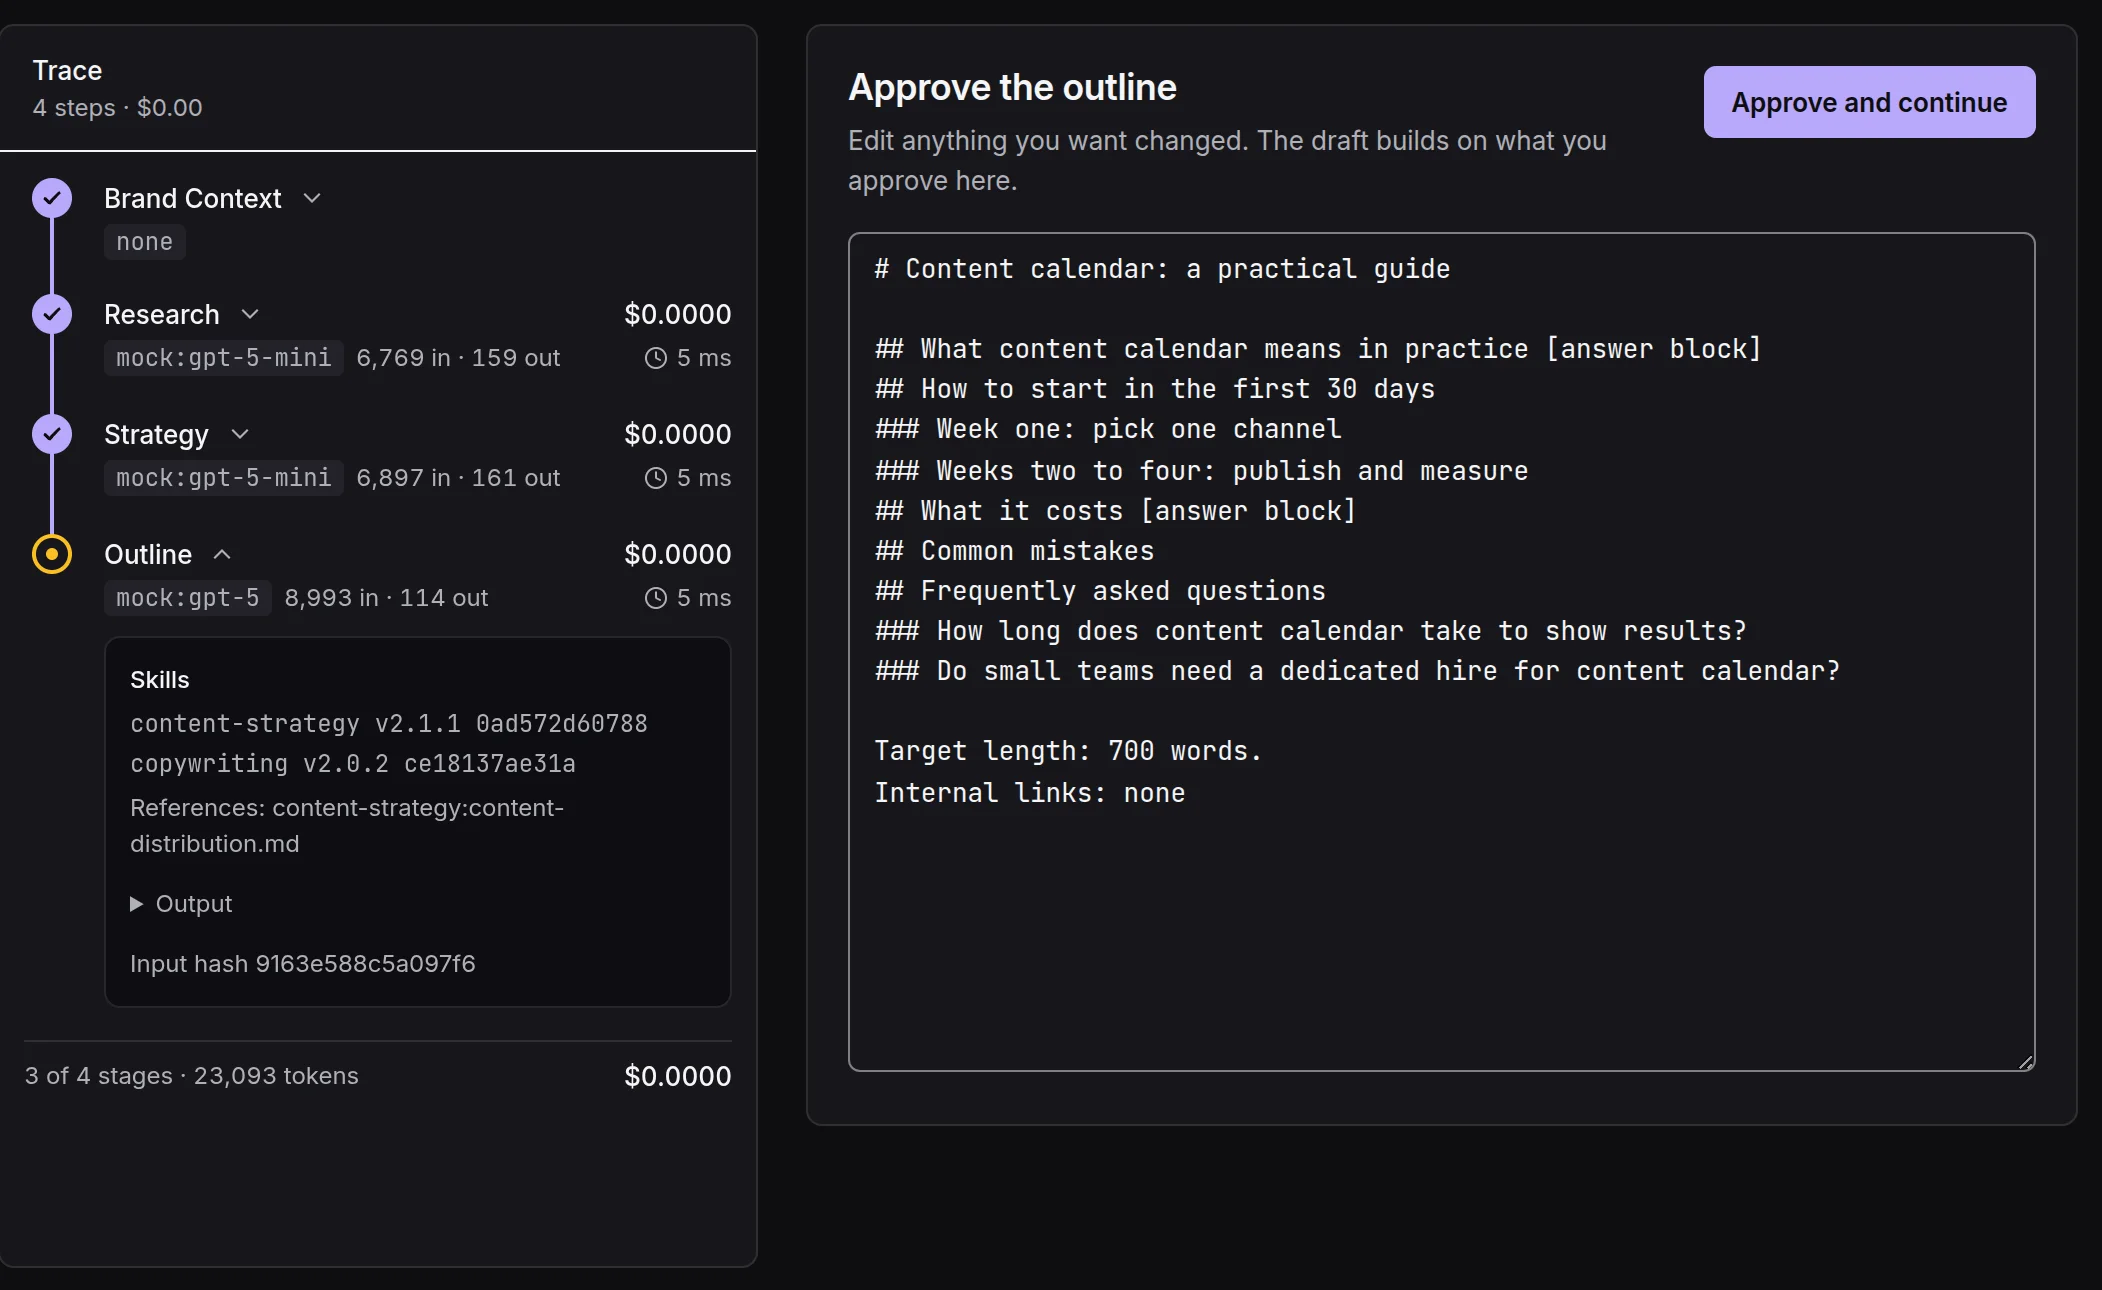
- 1The outline, editable
- 2Approve and continue
Read the draft beside its trace
When the run finishes, the content page becomes the editor. The draft sits in the middle with its title, slug and meta description above it, and six panels sit beside it.
- Human: the humanizer score and its findings.
- SEO: the on page checks.
- Trace: every stage of the run.
- Brand: the document the run read.
- Versions: compare any two versions.
- Review: comments and approvals.
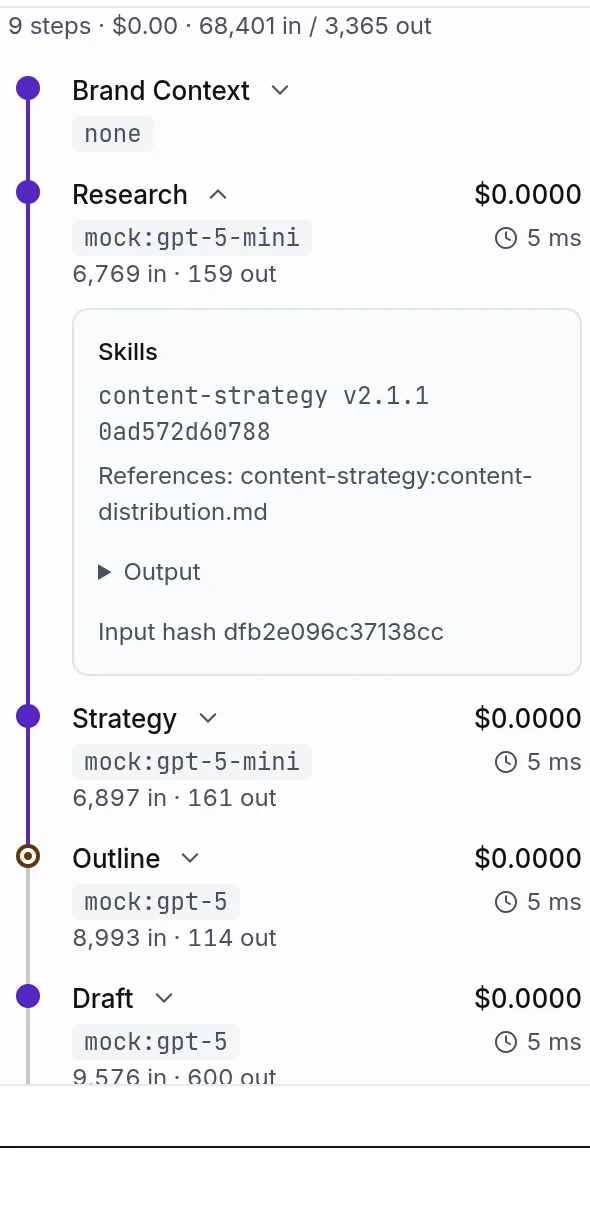
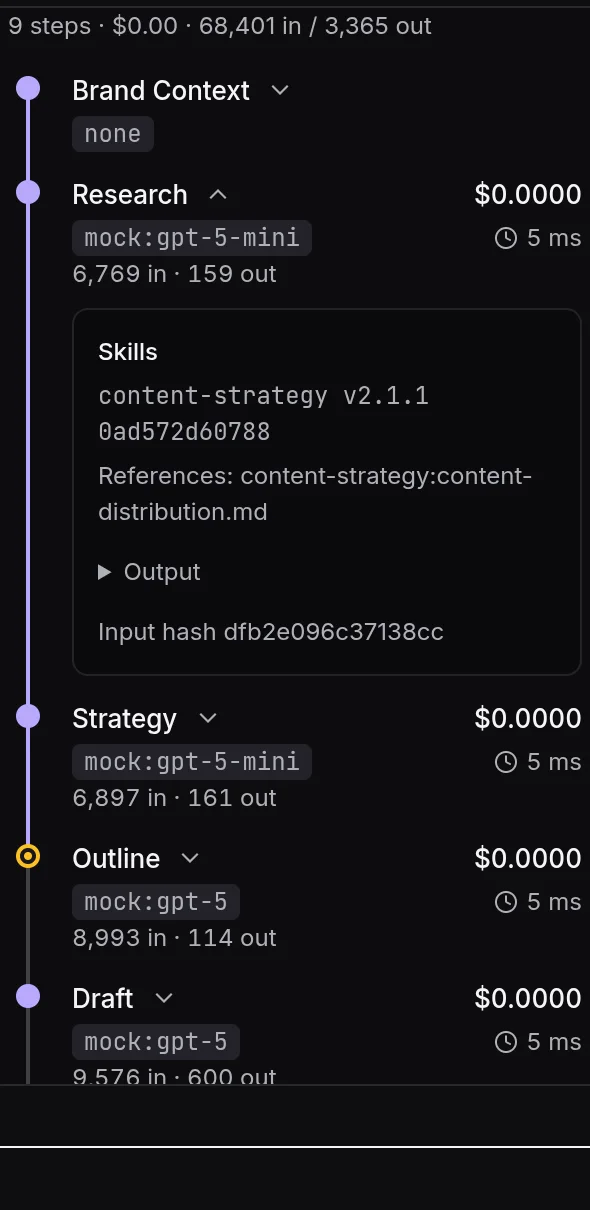
- 1One stage, with its skills and cost
Edit the markdown by hand, regenerate a single section with a note, or run the whole pipeline again with a changed brief from the run menu. Every change is a new version, and the humanizer lint scores the current version each time it changes.
Send it to review, then publish
Choose Send to review when the draft is ready. Reviewers approve the version or request changes with a note; the piece counts as approved once the number of approvals reaches the workspace setting, which is one by default. On the free plan you are the reviewer too. A hard fail in the humanizer lint blocks approval until the sentence changes.
Publishing goes through a connected channel. Connect WordPress, Webflow, Ghost, Shopify, HubSpot, Medium, LinkedIn, X or a signed webhook under Integrations, then choose Publish on an approved piece, pick the channel and the destination, and publish now or pick a time. The calendar shows everything you have scheduled. Connecting a CMS or a social account is on the Regular plan and above; the free plan exports markdown and HTML from the editor.
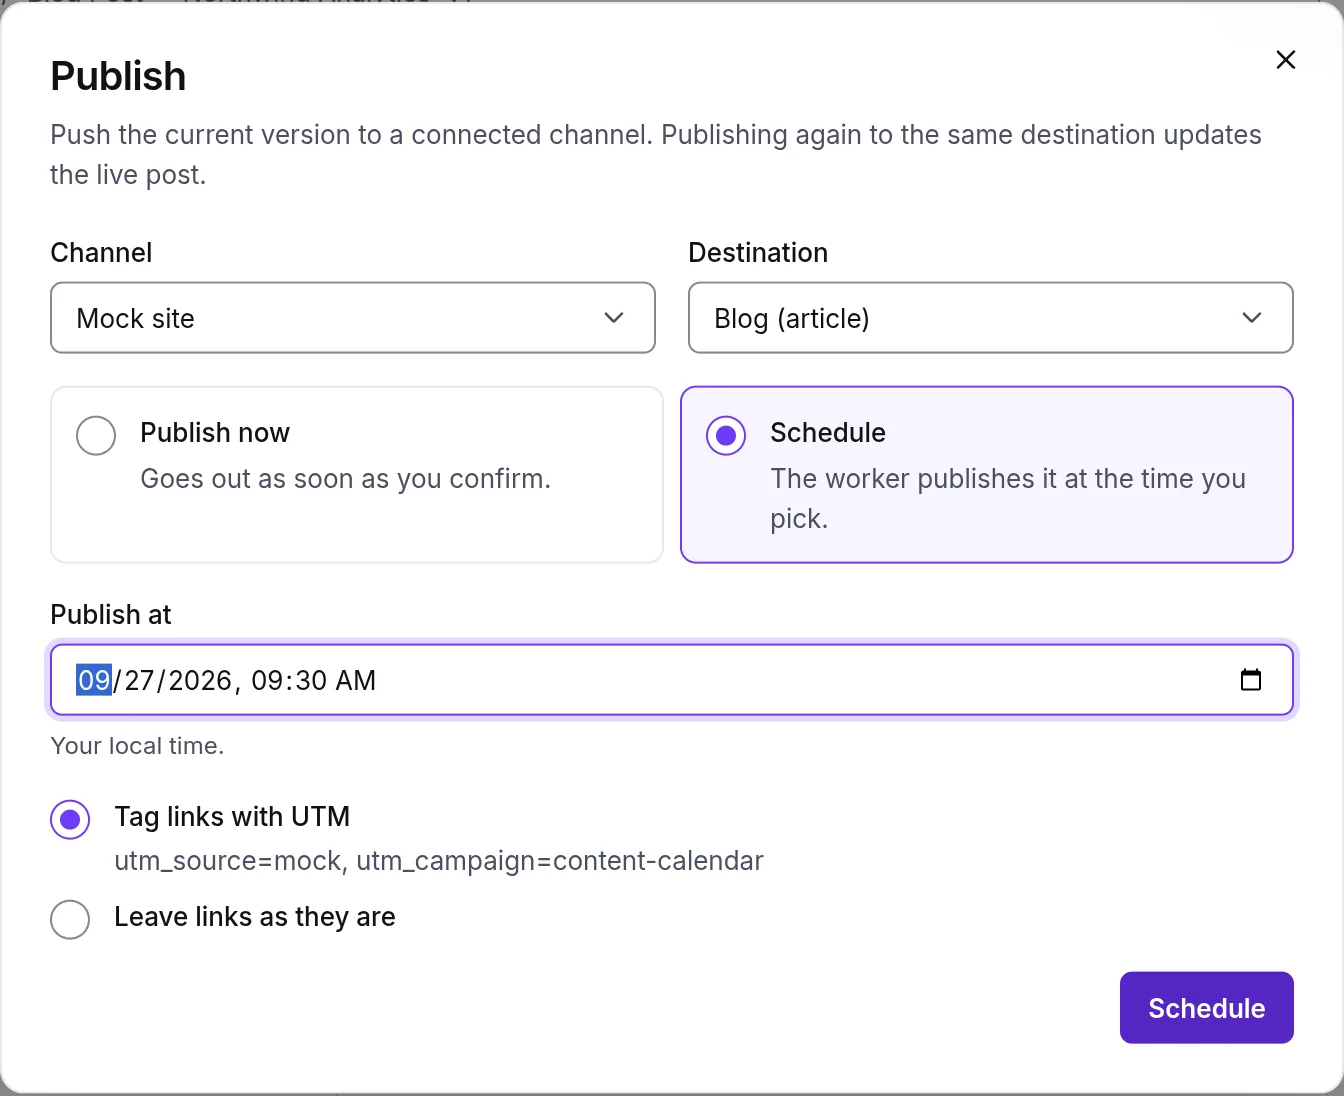
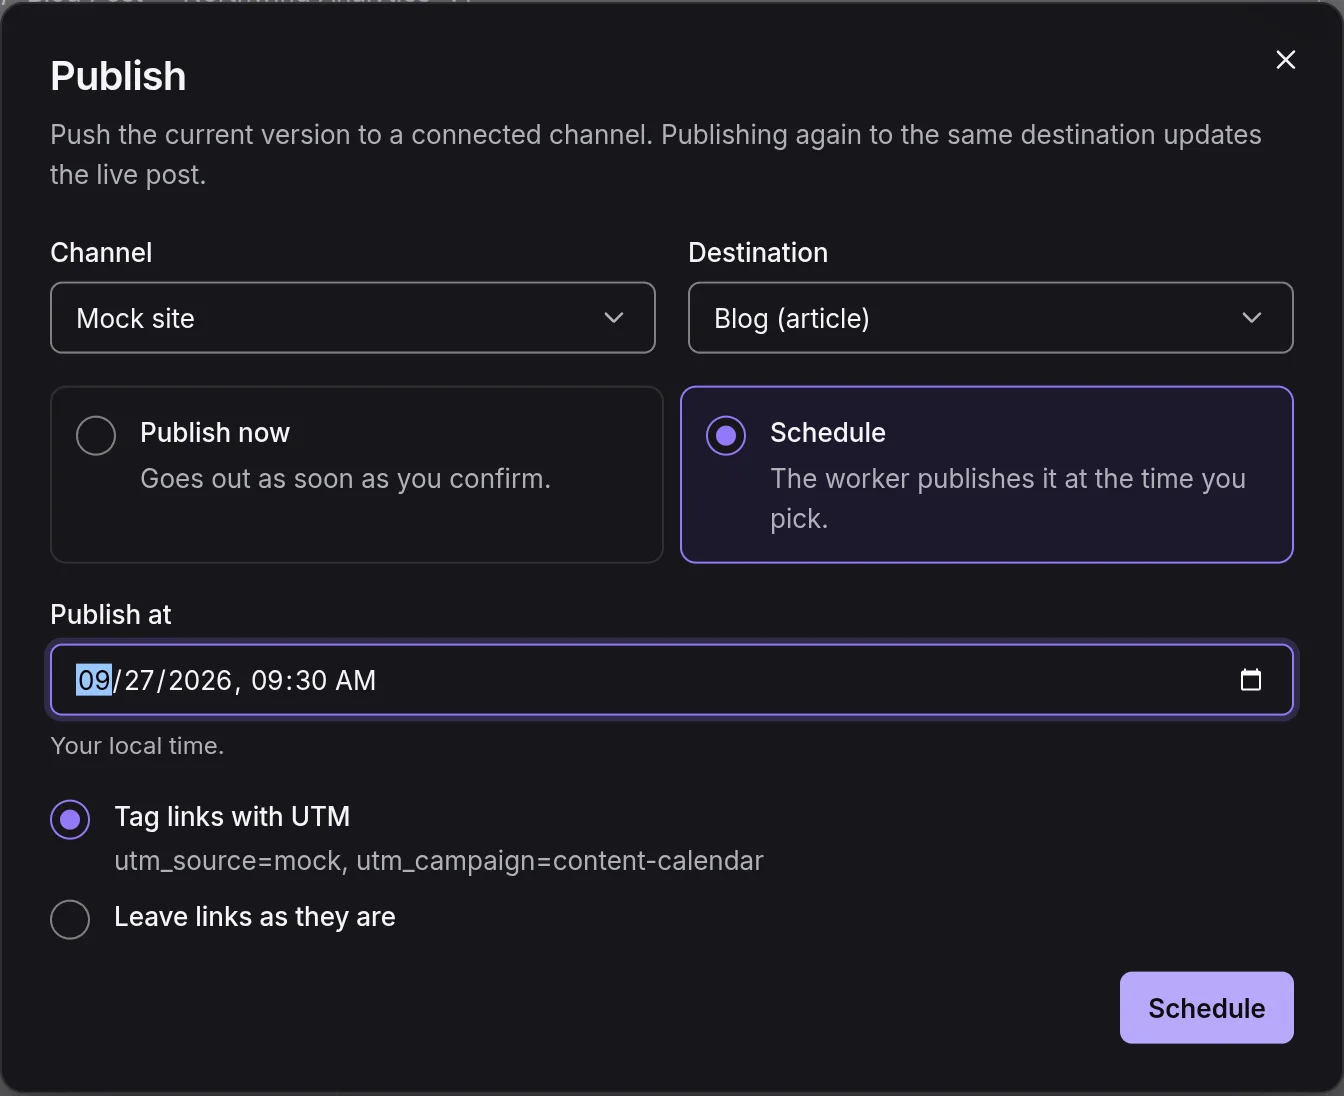
- 1Channel and destination
- 2Now, or a time you pick
What to read next
- Brand context explains the twelve sections and what each stage reads from them.
- The pipeline and the trace explains the nine stages and the gates, and lists the run statuses.
- The humanizer explains the lint and the score, and why the last stage cannot be switched off.
- The API and MCP reference shows how a script or an agent runs the same pipeline.
Something missing or wrong on this page? Write to hello@writerdean.com and say which section.